"Make a Forest Guardian Nature Fairy– Homeschool Autumn Craft Tutorial"
Steps to craft your Autumn Nature Fairy / Guardian
"gather your materials from nature for your nature fairy / guardian, I also use felt from one of our Waldorf Craft Stores in Hobart Tasmania."
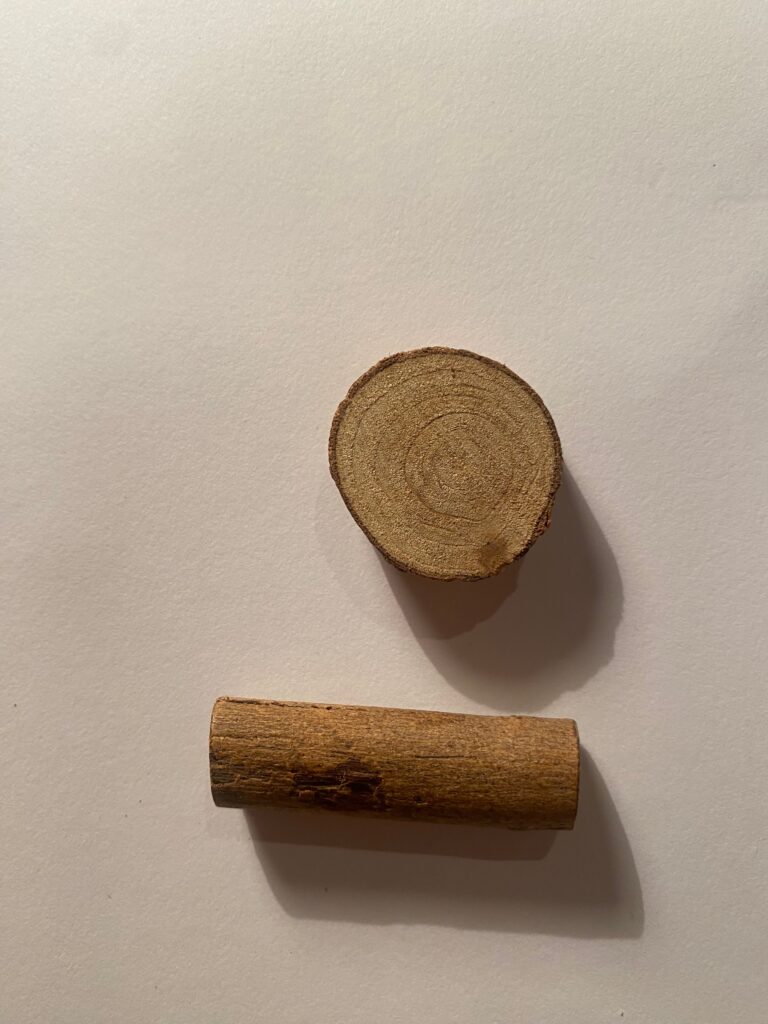
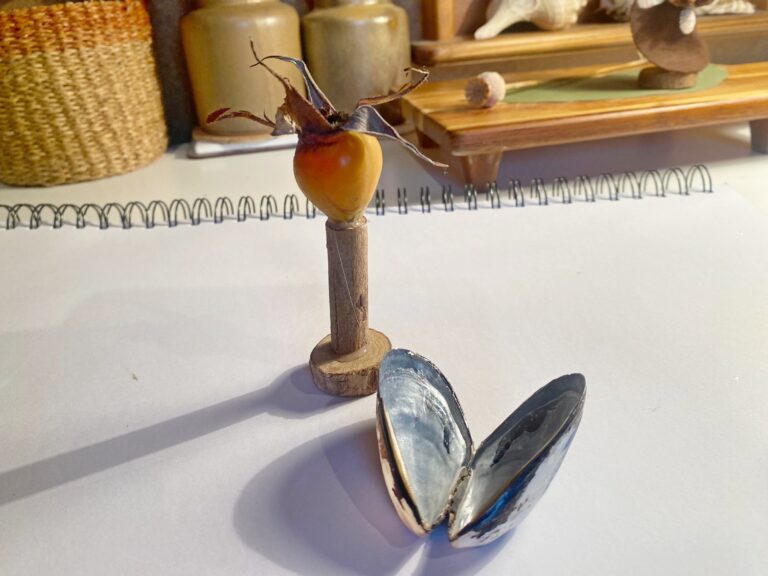
Collect wood for the frame, you can use any dry wood timber, and saw by hand or on a bandsaw.
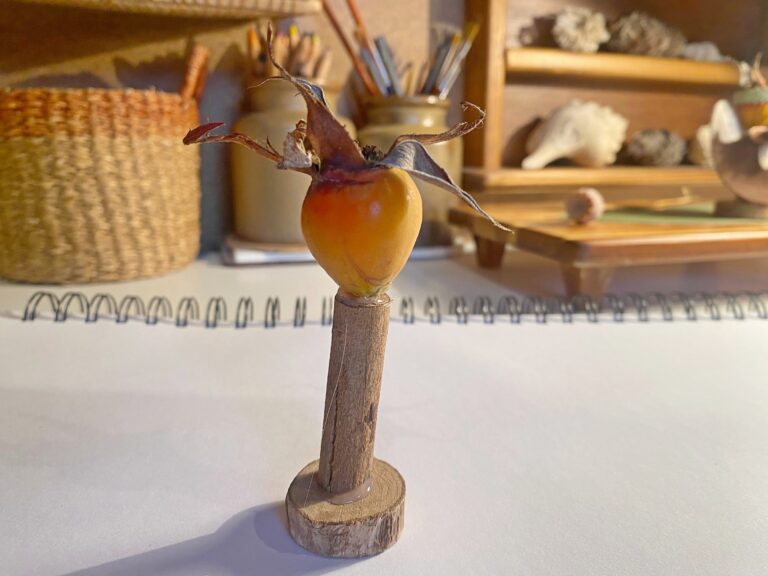
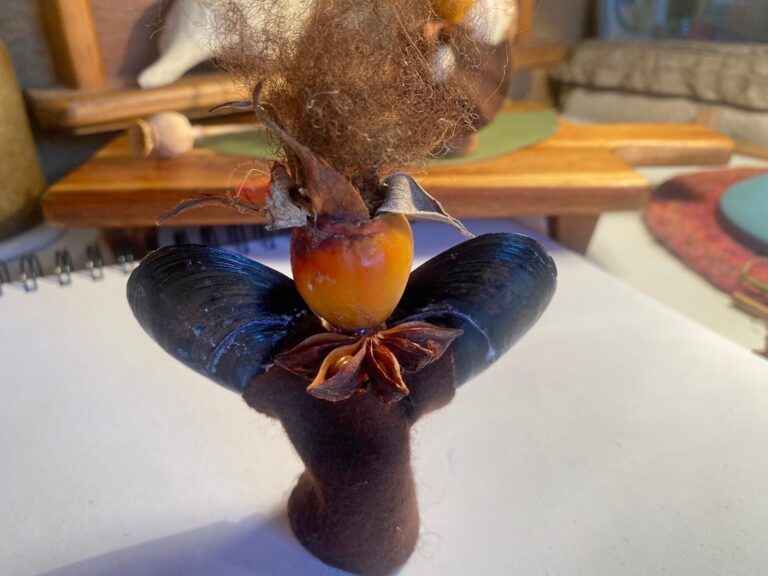
Collect seed head, seed cones, or in this case rosehip. Be aware that if using freshish pods / fruits they will shrink over time.
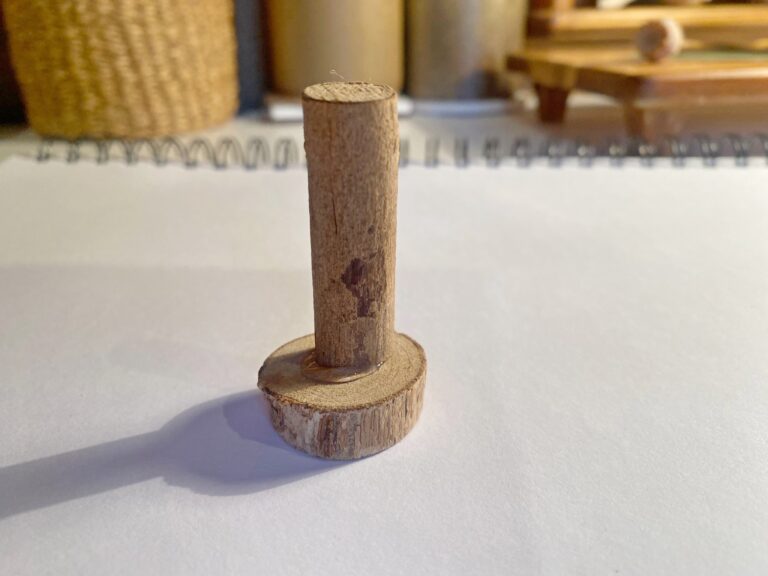
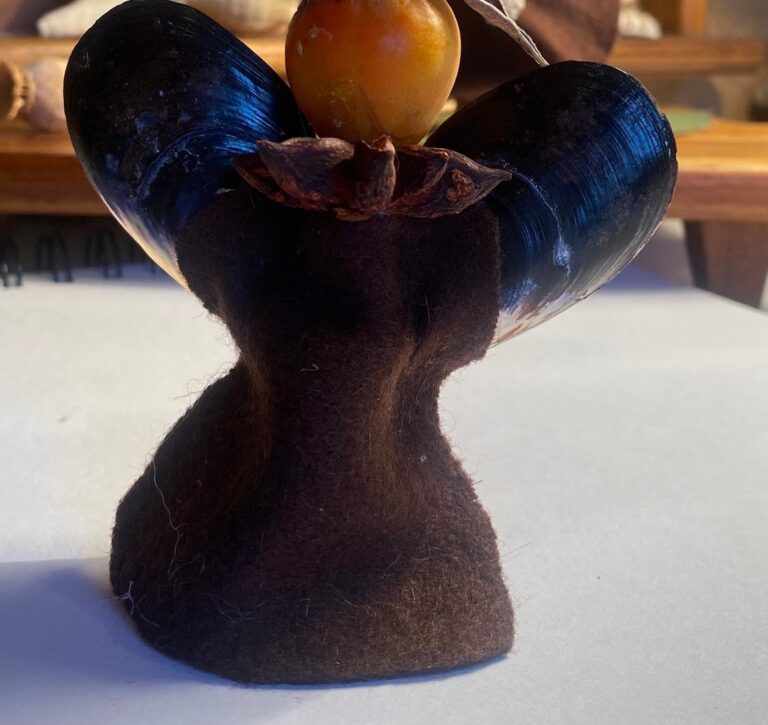
Glue the base and upright together, I use the glue gun for ease in these projects, but gluing manually will work.
Glue on the head, in this case my rosehip.
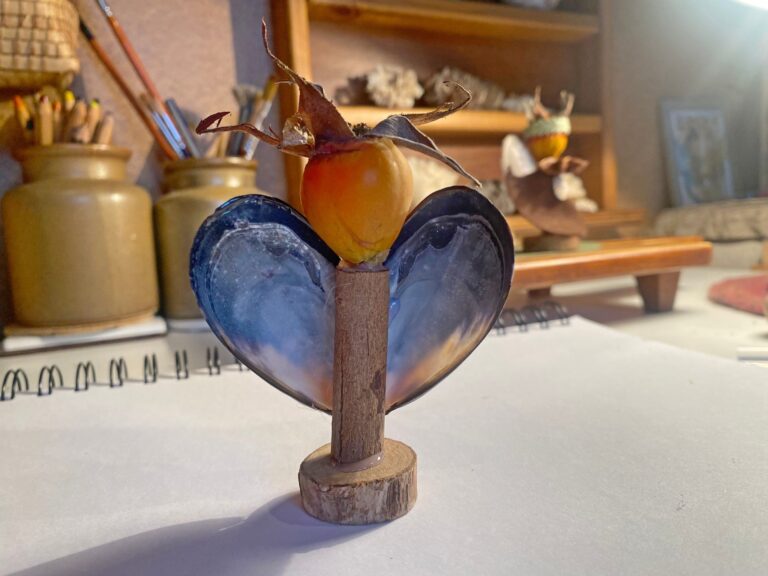
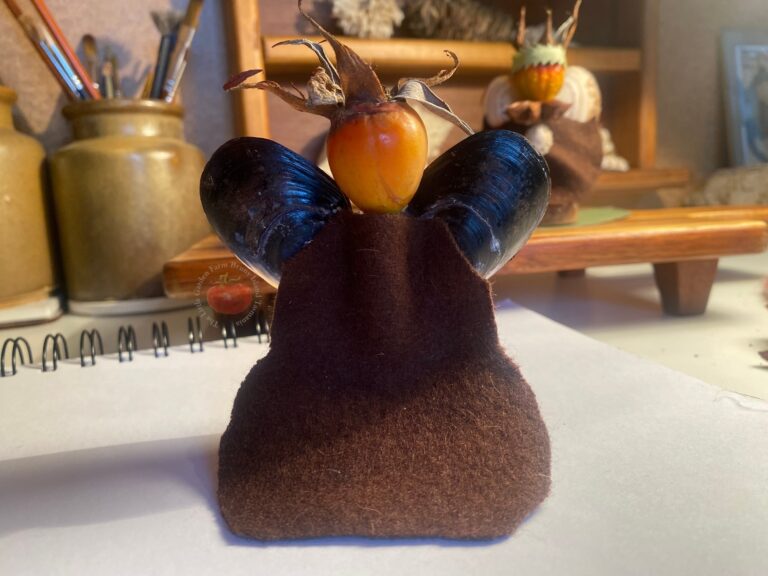
Use seashells or dried leaves for your guardian's fairy wings.
Glue the wings on.
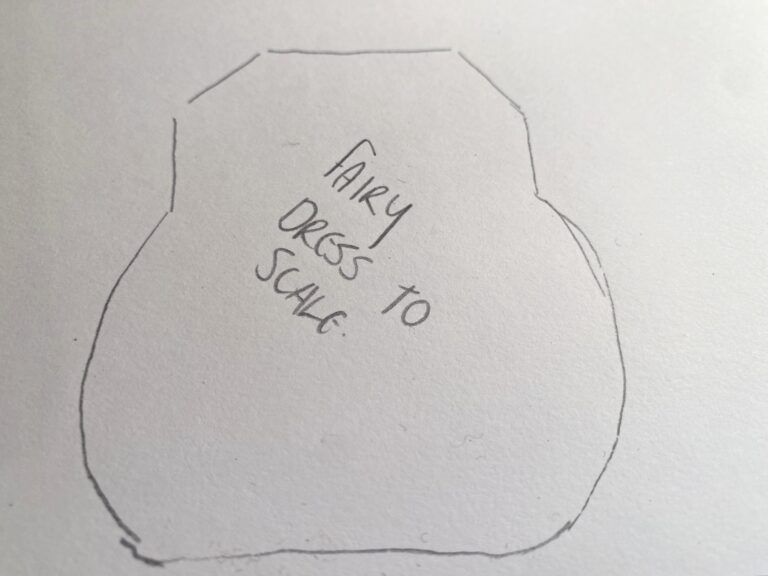
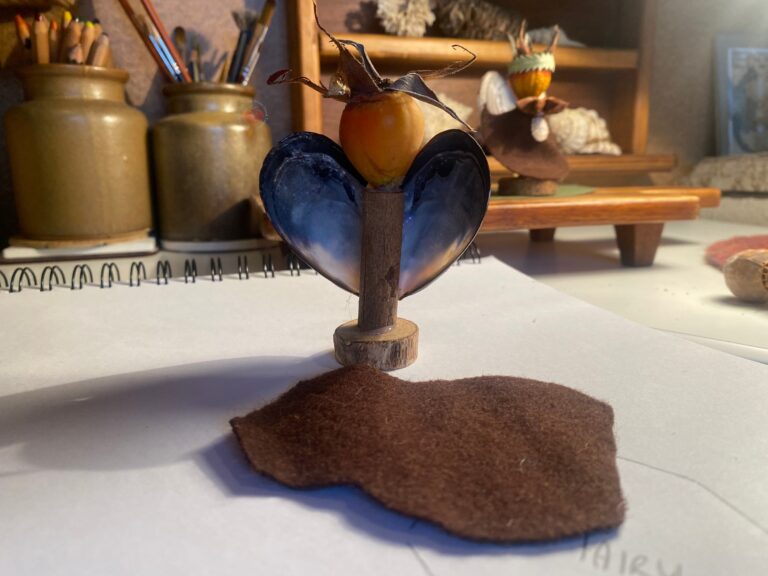
Make a pattern for the dress / cloak.
Cut out the dress / cloak.
Glue the dress / cloak onto the front of your nature guardian.
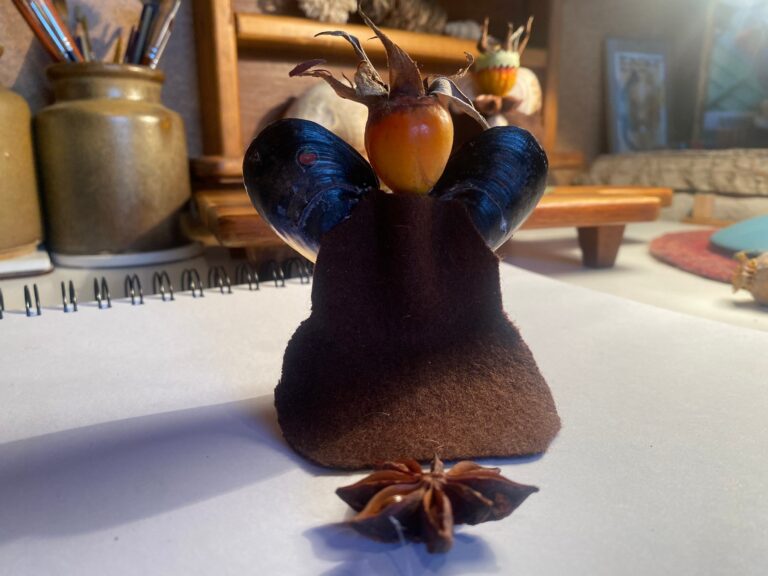
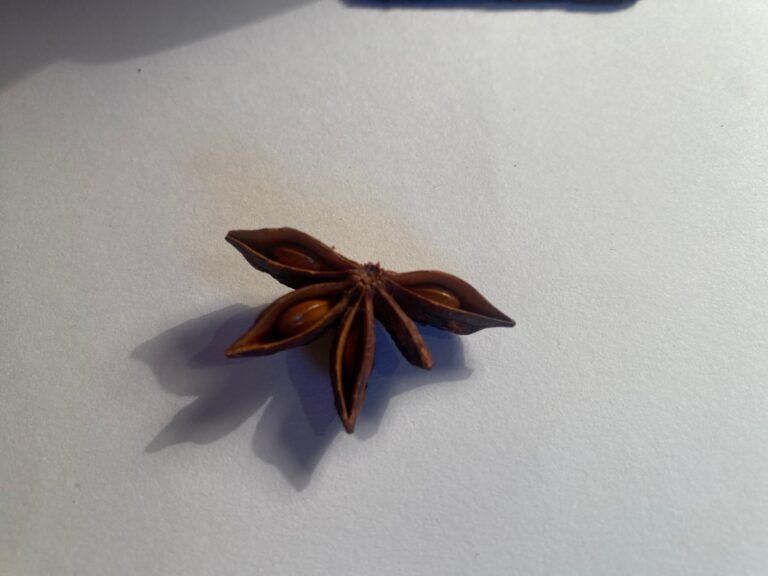
Select a suitable collar, in this case I have used a Star Anise Seed Pod.
Cut the seed pod or other natural object to fit your nature guardian.
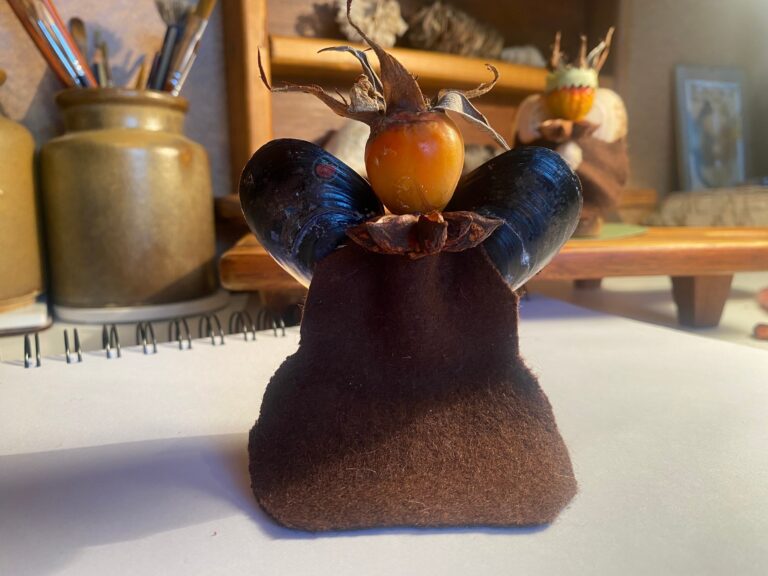
Glue the selected collar to the front of your nature guardian.
Glue the sides of the dress / cloak to your nature guardians frame.
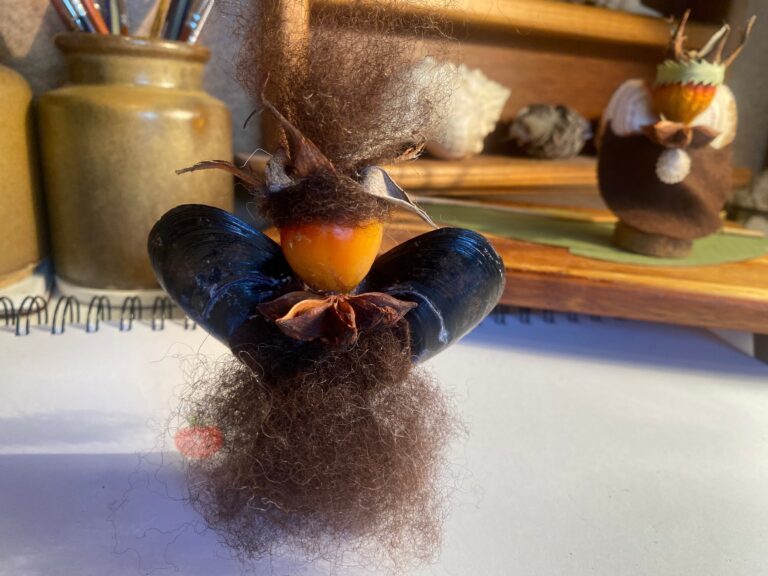
Glue teased out wool for the hair of your nature guardian, I like to use natural colours.
Glue more wool onto your figurine for the dress and the hair under the crown.
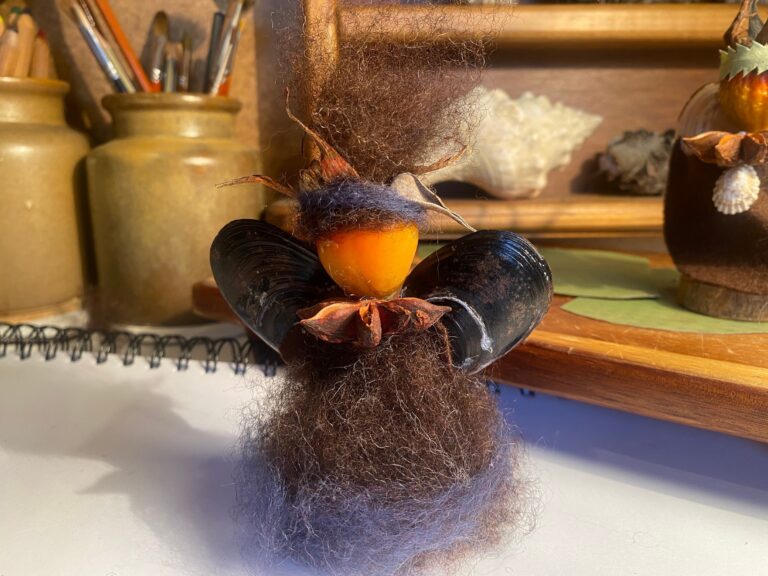
Glue some different coloured wool to your guardians dress / cloak base and the hair at the crown line. I used a lavender colour in this case.
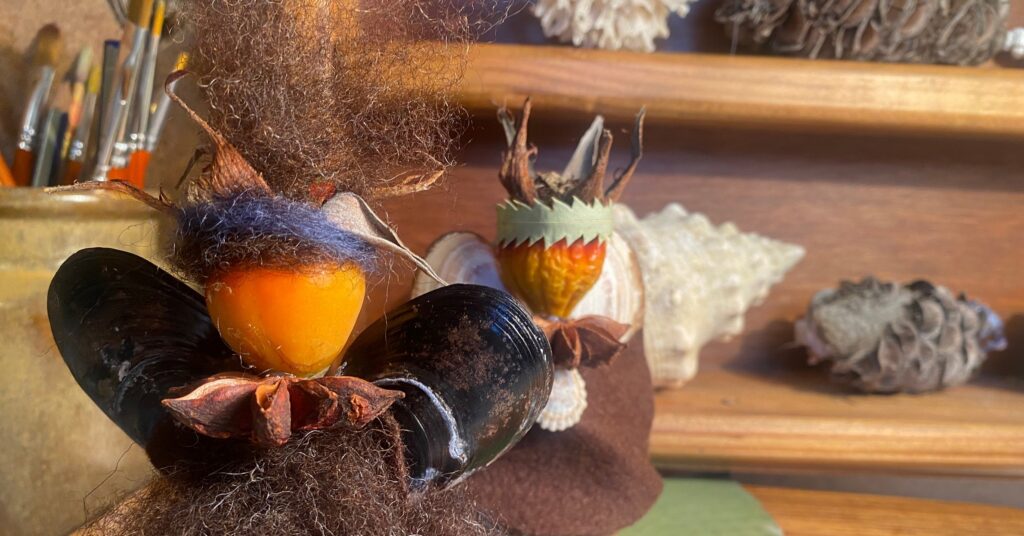
The finished nature guardian for your autumn / winter art craft homeschooling project.